Well, it's been a wonderful year in many respects. I started a new job in January, which brought new friendships into my life. We went to Aruba for a wedding. I started going to college. I joined a local quilt guild and made more new friends. We refinished some of the hard wood floors in the house. Had a few good weekend trips to see my daughter at college. Went camping. We played lots of card games and made lots of memories with my family. God has been and is very good to us!

11. Penguin Mug Rug
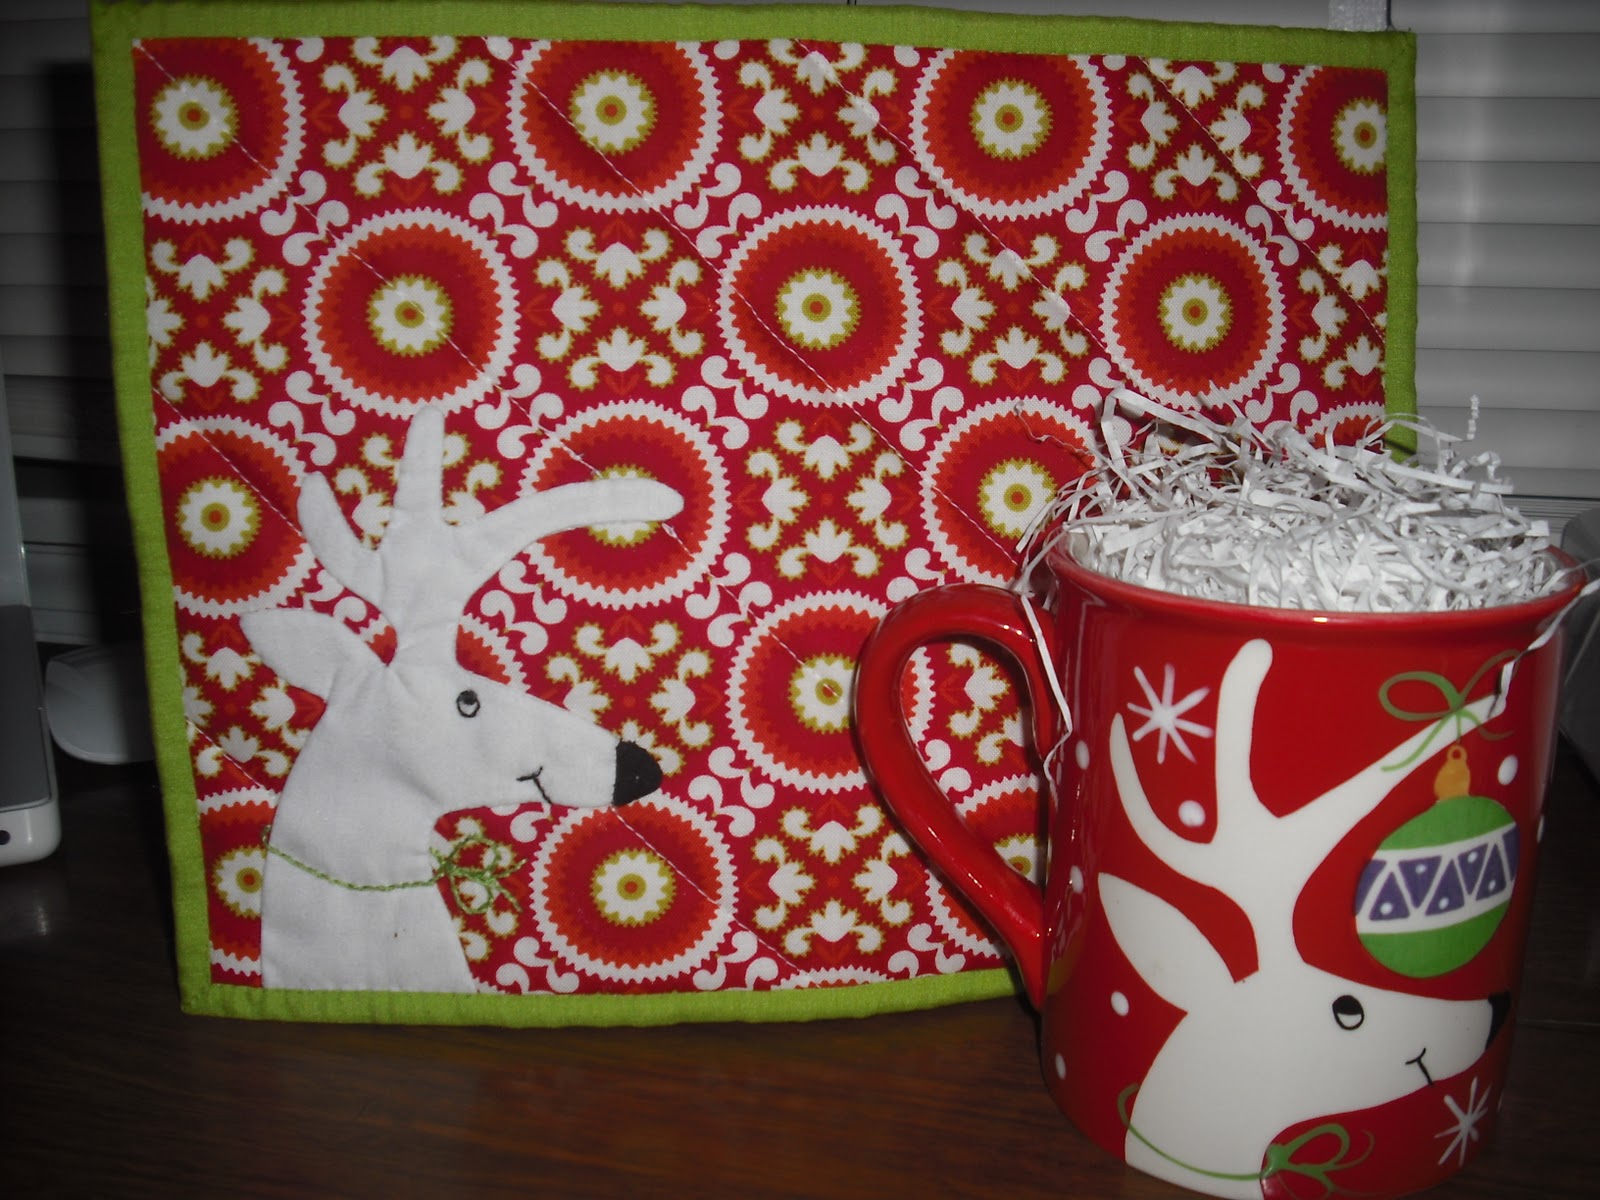
12. Reindeer Mug Rug
Here are some posts from the year that got a lot of views. Thanks to my friends and followers who take the time to read my posts. I appreciate you all so much. May God richly bless you throughout the new year with much happiness, peace, love, joy, and laughter!
Blessings,